【Flutter】StatelessWidgetとStatefullWidget
初期のサンプルとして出力されたソースコードが以下の様になる。
lib/main.dart
import 'package:flutter/material.dart';

void main() => runApp(MyApp());

class MyApp extends StatelessWidget {
  // This widget is the root of your application.
  @override
  Widget build(BuildContext context) {
    return MaterialApp(
      title: 'Flutter Demo',
      theme: ThemeData(
        // This is the theme of your application.
        //
        // Try running your application with "flutter run". You'll see the
        // application has a blue toolbar. Then, without quitting the app, try
        // changing the primarySwatch below to Colors.green and then invoke
        // "hot reload" (press "r" in the console where you ran "flutter run",
        // or simply save your changes to "hot reload" in a Flutter IDE).
        // Notice that the counter didn't reset back to zero; the application
        // is not restarted.
        primarySwatch: Colors.blue,
      ),
      home: MyHomePage(title: 'Flutter Demo Home Page'),
    );
  }
}

class MyHomePage extends StatefulWidget {
  MyHomePage({Key? key, required this.title}) : super(key: key);

  // This widget is the home page of your application. It is stateful, meaning
  // that it has a State object (defined below) that contains fields that affect
  // how it looks.

  // This class is the configuration for the state. It holds the values (in this
  // case the title) provided by the parent (in this case the App widget) and
  // used by the build method of the State. Fields in a Widget subclass are
  // always marked "final".

  final String title;

  @override
  _MyHomePageState createState() => _MyHomePageState();
}

class _MyHomePageState extends State<MyHomePage> {
  int _counter = 0;

  void _incrementCounter() {
    setState(() {
      // This call to setState tells the Flutter framework that something has
      // changed in this State, which causes it to rerun the build method below
      // so that the display can reflect the updated values. If we changed
      // _counter without calling setState(), then the build method would not be
      // called again, and so nothing would appear to happen.
      _counter++;
    });
  }

  @override
  Widget build(BuildContext context) {
    // This method is rerun every time setState is called, for instance as done
    // by the _incrementCounter method above.
    //
    // The Flutter framework has been optimized to make rerunning build methods
    // fast, so that you can just rebuild anything that needs updating rather
    // than having to individually change instances of widgets.
    return Scaffold(
      appBar: AppBar(
        // Here we take the value from the MyHomePage object that was created by
        // the App.build method, and use it to set our appbar title.
        title: Text(widget.title),
      ),
      body: Center(
        // Center is a layout widget. It takes a single child and positions it
        // in the middle of the parent.
        child: Column(
          // Column is also a layout widget. It takes a list of children and
          // arranges them vertically. By default, it sizes itself to fit its
          // children horizontally, and tries to be as tall as its parent.
          //
          // Invoke "debug painting" (press "p" in the console, choose the
          // "Toggle Debug Paint" action from the Flutter Inspector in Android
          // Studio, or the "Toggle Debug Paint" command in Visual Studio Code)
          // to see the wireframe for each widget.
          //
          // Column has various properties to control how it sizes itself and
          // how it positions its children. Here we use mainAxisAlignment to
          // center the children vertically; the main axis here is the vertical
          // axis because Columns are vertical (the cross axis would be
          // horizontal).
          mainAxisAlignment: MainAxisAlignment.center,
          children: <Widget>[
            Text(
              'You have pushed the button this many times:',
            ),
            Text(
              '$_counter',
              style: Theme.of(context).textTheme.headline4,
            ),
          ],
        ),
      ),
      floatingActionButton: FloatingActionButton(
        onPressed: _incrementCounter,
        tooltip: 'Increment',
        child: Icon(Icons.add),
      ), // This trailing comma makes auto-formatting nicer for build methods.
    );
  }
}
実行時の画面は以下。いわゆるボタン押したらカウントアップするアプリ

プログラムのエントリーポイントは設定で変更可能か現時点で不明だが mainメソッドが呼ばれている。
void main() => runApp(MyApp());
アプリのスタートアップとなるクラスを指定し実行する訳で。 標準のウィジェットクラスStarelessWidget※を継承したMyAppインスタンスを作成している模様。 ※Flutter Frameworkの提供
class MyApp extends StatelessWidget {/** 処理割愛 */}
対となるウィジェットクラスだとStatefulWidgetが提供されている。 両者の違いはState:状態に対しての制御ができるかどうか。 StatefulWidgetもサンプルには記述されているため以下に記載。
class MyHomePage extends StatefulWidget{/** 処理割愛 */}
具体的に何が違うのか確認していく。
class MyApp extends StatelessWidget {
  // This widget is the root of your application.
  @override
  Widget build(BuildContext context) {
    return MaterialApp(
      title: 'Flutter Demo',
      theme: ThemeData(
        primarySwatch: Colors.blue,
      ),
      home: MyHomePage(title: 'Flutter Demo Home Page'),
    );
  }
}

class MyHomePage extends StatefulWidget {
  MyHomePage({Key? key, required this.title}) : super(key: key);

  @override
  _MyHomePageState createState() => _MyHomePageState();
}
APIリファレンスを確認しながら大きく異なる点を確認する。 api.flutter.dev ・StatelessWidgetではBuildを提供しており、つまり静的なインスタンス生成を行っている。
api.flutter.dev ・StatefullWidgetではcreateStateを提供しており、つまり動的なインスタンス生成を行っている。
具体的な話をすると
StatelessWidget:固定表示のウィジェット
StatelessWidget:プログラムで表示を変えられるウィジェット
という話ではないかと確認。
赤枠がStatelesWidget
緑枠がStatelesWidget

語弊を生み出しそうだがクラス構成で表すと StatelesWidgetからStartefulWidgetを生成することができて、 StatefulWidgetはStateを内包している。
Stateを返してあげることによりRenderObjectが描画・管理するようなイメージ...か?

FlutterFrameworkのアーキをじっくり調べる必要がありそうだが、 この記事の終着点はこれだと思う。
StatelessWidget:固定表示のウィジェット
StatelessWidget:プログラムで表示を変えられるウィジェット
そろそろ本腰入れてFlutterの構造について知らないといけない気がしてきた。
【python】Discordの自作BOTの小話
某うま擬人化のゲーム仲間から依頼が来たので、その話でも。
依頼内容「スプレッドシートからデータを抽出してDiscordのチャンネル上に表示する対話型BOTが欲しい」
アーキテクト
・言語:python
・主なライブラリ:discord, gspread
環境構築の話は割愛する。以下の先駆者様の記事が見やすく便利なため。
簡易的なシーケンスは以下の通り

・コマンドラインからpythonアプリケーション(BOT)をキック
・初期シーケンスでスプレッドシートの値を読み込み
・Discordのサーバに対してRunを実行
・以降、サーバ所属者から定型コマンド形式のリクエストが飛んで来たら処理する(非同期)
ソースコードはこちらの記事へ別管理(Markdown記法に切り替えたいため)
【python】BOTソースコードサンプル+スプレッドシートアクセスサンプル - 魔法でシステムは作れない
一個だけ解説を入れるとするなら、
スプレッドシートの日付データはシリアル値であり、
1899年12月30日から何日経ったというオフセット値を持つため
そのままシリアル値を日付型へ変換するとうまくいかないこと。

1行目では、実際にセルの値を取得している。:日付シリアル値
2行目では、1899年12月30日+日付シリアル値で実際の日付データを計算
(YYYY-MM-DD MI24:mm:ss形式)
※[:10]はLEFT(文字列,10)と同義
3行目ではYY-MM-DDからYY/MM/DDへ置換。
オチになるけど、正規表現でやった方が良いね
【python】BOTソースコードサンプル+スプレッドシートアクセスサンプル
gspreadのソースコード.py(spreadsheet_acesser.py)
import gspread
import json
from datetime import datetime, timedelta
from oauth2client.service_account import ServiceAccountCredentials

class member_scores(object):
    """docstring for member_scores."""

    def __init__(self):
        super(member_scores).__init__()
        self.names={}
        self.scores={}
        self.margins={}

    # Googleスプレッドシートへのアクセス
    def connect_gspread(self, jsonf,key):
        scope = ['https://spreadsheets.google.com/feeds','https://www.googleapis.com/auth/drive']
        credentials = ServiceAccountCredentials.from_json_keyfile_name(jsonf, scope)
        gc = gspread.authorize(credentials)
        SPREADSHEET_KEY = key
        worksheet = gc.open_by_key(SPREADSHEET_KEY)
        return worksheet

    def access_ws(self):
        # 認証用秘密鍵とブックのURL-keyの接続
        jsonf = "JSONファイルのパス"
        spread_sheet_key = "ZZZZZZZZZZZZZZZZZZZZZZZZZZZZZZZZZZZZZZZZZZZZ"
        ws = self.connect_gspread(jsonf,spread_sheet_key)

        target = ws.worksheet("シート名")
        # A列取得(アドレス指定):メンバー情報
        cmd_list = target.get("A:A")

        # B列取得(数値指定):過去基準のデータ
        score_list = target.col_values(1)

        # 単一セル取得(行, 列 指定):最新基準の府付けデータ
        date_time = target.cell(1, 2, value_render_option='UNFORMATTED_VALUE').value
        # 日付処理
        date_time = str(datetime(1899, 12, 30) + timedelta(date_time))[:10]
        score_list[1] = date_time.replace("-","/")
        margin_list = target.col_values(number_margin_score_col)

        self.names = cmd_list
        self.scores = score_list
        self.margins = margin_list

        return self

def get_obj():
    users = member_scores()
    return users.access_ws()
import discord
import asyncio
# 自作のスプレッドシートアクセスのモジュール
import spreadsheet_acesser

# CONSTANTS
# 自分のBotのアクセストークンに置き換えてください
STR_TOKEN = 'XXXXXXXXXXXXXXXXXXXXXXXXXXXXXXXXXXXXXXXXXXXXXXXXXXXXXXXXX'
# 接続に必要なオブジェクトを生成
client = discord.Client()

members = spreadsheet_acesser.get_obj()

# 起動時に動作する処理
@client.event
async def on_ready():
    # ターミナルの方に出力
    print('Logged in as')
    print(client.user.name)
    print(client.user.id)
    print('------')


# メッセージ受信時に動作する処理
@client.event
async def on_message(message):
    # メッセージ記載者判定
    if message.author.bot:
        # BOTのメッセージには対応しない
        return

    # チャンネル未指定のメッセージ処理
    # メッセージ内容判定
    if message.content == '/Hello':
        await message.channel.send('Helloに対する返信')

    # チャンネル未指定のメッセージ処理
    # メッセージ内容判定
    if message.content == '/Bye':
        await message.channel.send('Byeに対する返信')

    # チャンネル判定
    if message.channel.name == 'チャンネル名称':
        # メッセージ内容判定
        if message.content.startswith('/'):
            # 処理割愛
            pass

# Botの起動とDiscordサーバーへの接続
client.run(STR_TOKEN)
【Flutter】+AndroidStudio サンプル作成
前回の続きということで構築した環境が正常に動作するかを検証。
前回:
[Create New Flutter Project]を選択

FlutterSDKのパスを指定し、Warningが出ていないことを確認
[Next]を押下

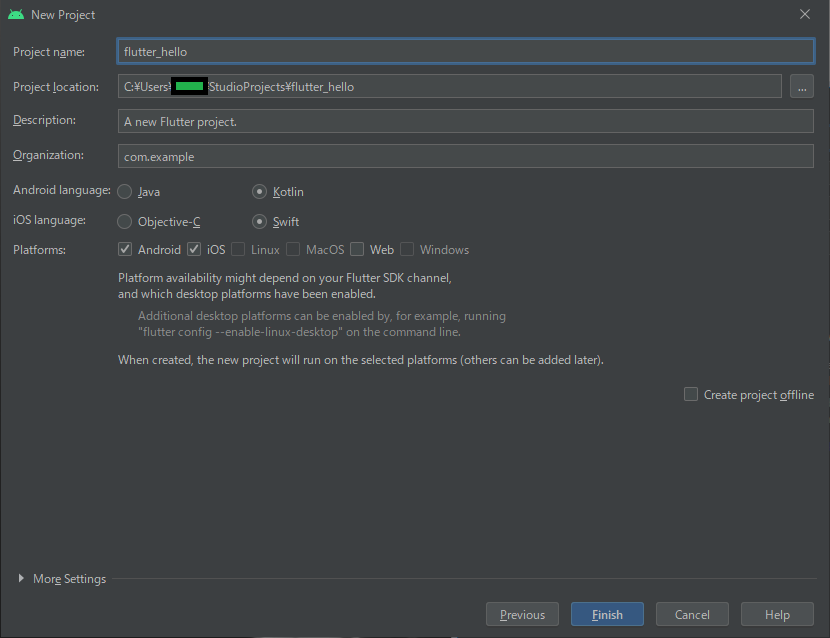
各種パスを設定しFinishを押下

プロジェクト名はsnake_caseが必須らしく命名規則に違反するとNG

改めてプロジェクト名を入力し[Finish]を押下
プロジェクトエクスプローラーの様な画面へ自動遷移

サンプルは既にSDKで作成済のため、
起動させるためのデバイスを設定
AVD Managerを起動したいため、[Help]→[Find Action]→AVDを入力
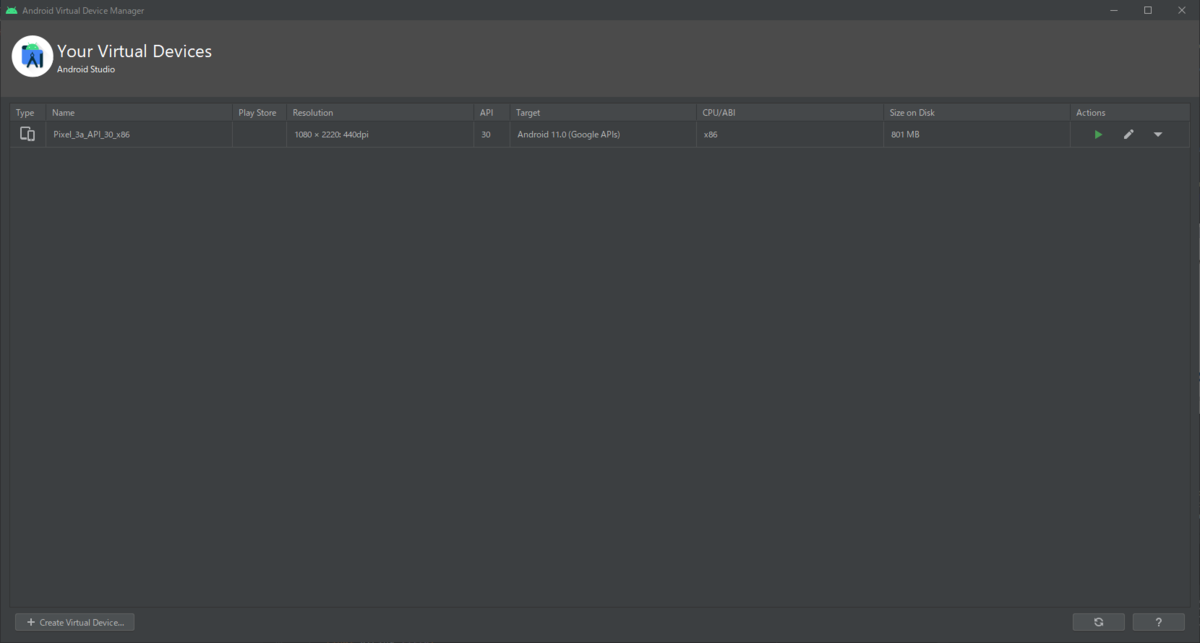
既にPixelが用意されている様子
新規作成を試行したいため[Create Virtual Device]を押下

端末名をクリックし[Next]を押下

OSのイメージ選択が求められるので、[x86Images]を選択
[Next]を押下

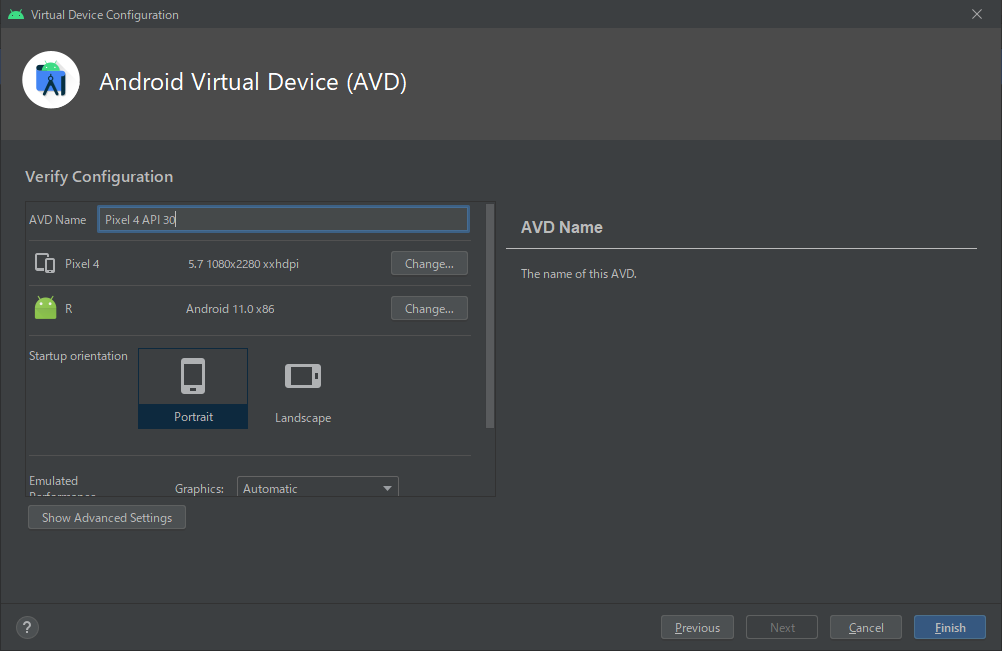
詳細設定はデフォルトのまま[Finish]を押下
仮想デバイスが動きだしたので様子見

デフォルトのPixel3aが立ち上がっている状態

赤枠の実行をクリック
ビルドは時間が掛かるため待機
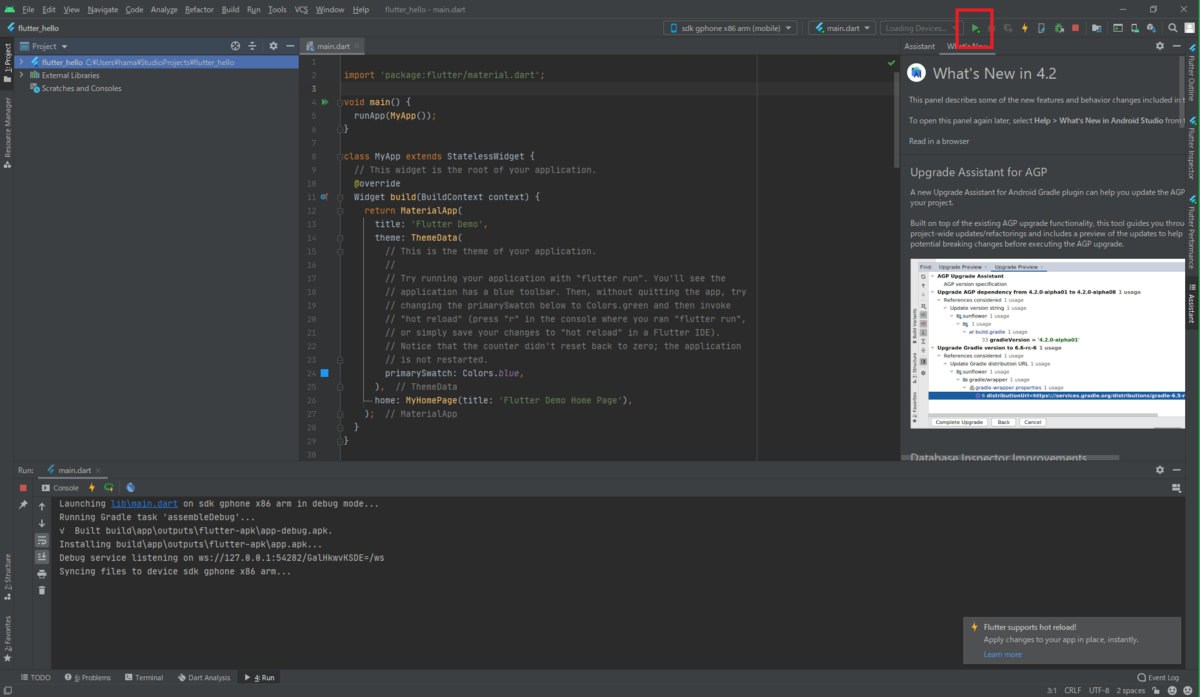
Demoのアプリが立ち上がったのでOK
※Demoは右下の+をタップするたびにカウントアップするアプリ

ひとまずサンプル作成(SDKの標準)が実行できたため、
環境構築は問題なしと判断。
次回はソースコードを洗い出しして
SDKの標準サンプルではなく、からプロジェクトからスクラッチする予定
【Flutter】+AndroidStudio環境構築
各種環境のDL
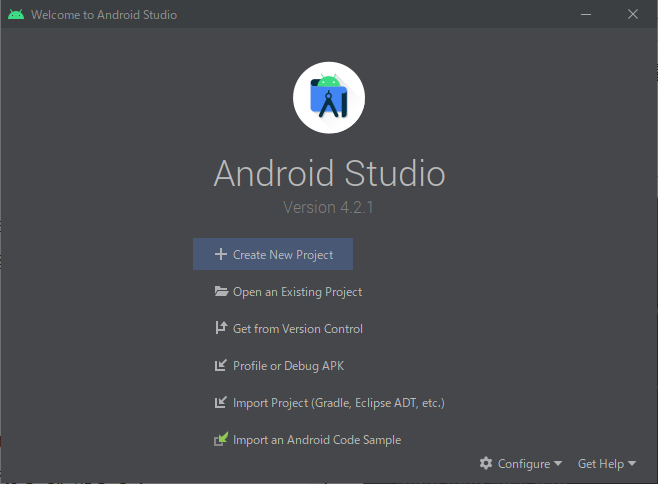
・AndroidStudio(記載日では最新のVer4.2.1)
https://developer.android.om/studio?hl=ja
・Flutter SDK(記載日では最新のVer2.20)
https://flutter.dev/docs/get-started/install
インストール
・AndroidStudio
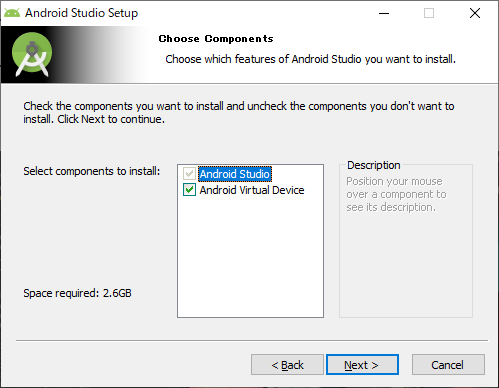
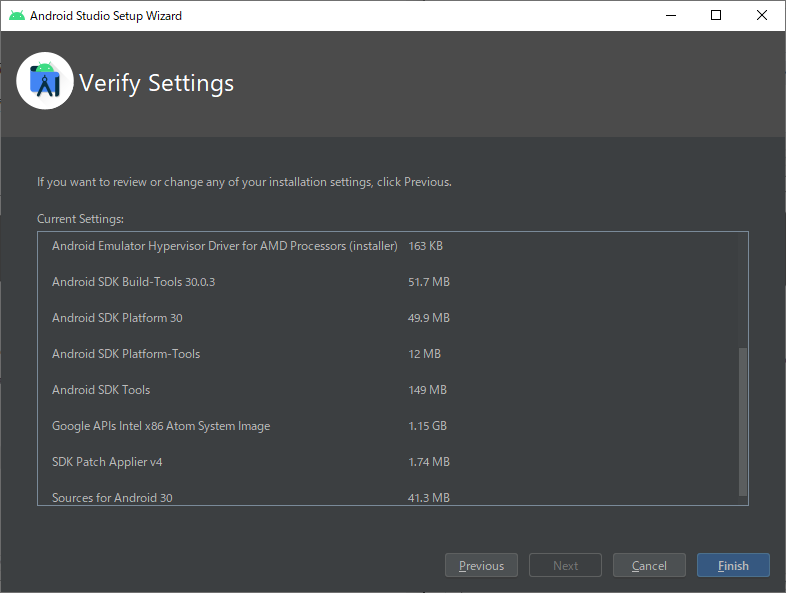
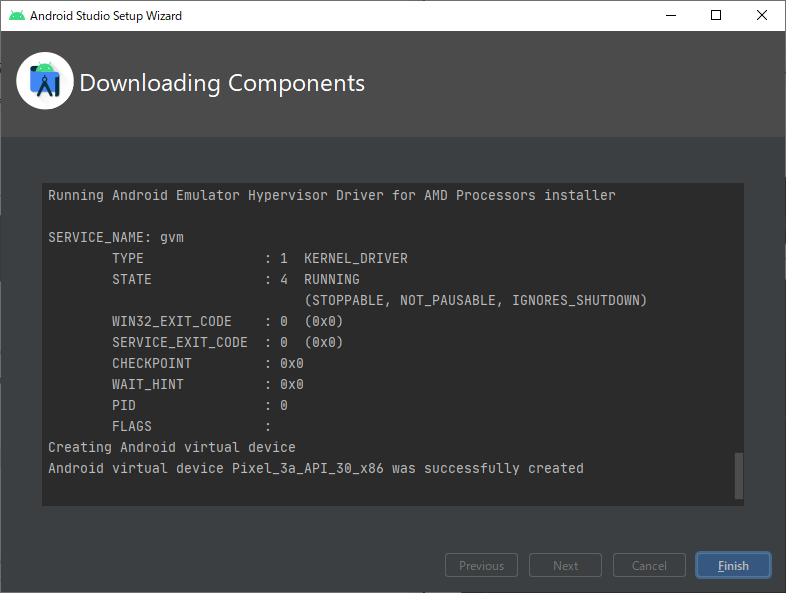
①特に問題が無ければ画面に従って進む

②Android Studioの起動

この辺は任意。


・FlutterSDK
①ダウンロードの実施

※権限回りを気を付けてと注意書きがあるので解答先は考える必要がある。
②DLしたzipを指定先に解答
私の環境ではひとまず「C:\Users\%ユーザ名%\localtools\FlutterSDK」の
パスを作成しその下に解凍

③環境変数の作成(ユーザー変数にPathを通す)
慣れていれば問題ないがザックリと紹介
・場所はどこでも可能
「ctrl+R」:ファイル名を指定して実行を起動
「control」と入力し「Enter」:コントロールパネルを起動
・コントロールパネル
「システムとセキュリティ」をクリック:画面の移動
「システム」をクリック:画面の移動
左側の小さな窓にある「システムの詳細設定」をクリック:システムのプロパティを起動

環境変数を押下すると新しいダイアログが表示されるので
ユーザー変数のPathにFlutterSDKのbinを設定する。
既存のPathが無い人向け(既存があるのに新規で作成すると過去のPathが消える)
消えてしまった場合は焦らずにキャンセルで戻る。

既存のPathが有る人向け

設定が終わったらとりあえずOK連打
③Flutter環境の確認
「ctrl+R」:ファイル名を指定して実行を起動
「cmd」と入力し「Enter」:コマンドプロンプトを起動
コマンド:「flutter doctor」

どうやらライセンスが許可されていないらしい。
・Android toolchainの許可
コマンド:「flutter doctor --android-licenses」
※対話モードで各所許可するか聞かるが、こだわり無ければ全部「y」を入力


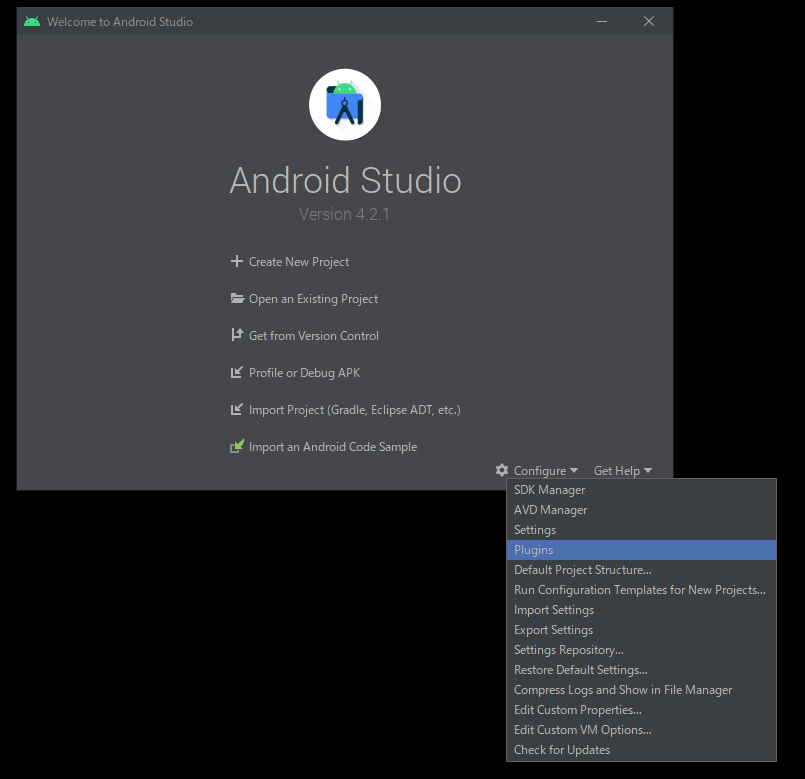
・AndroidStudioの連携(コマンドプロンプトはそのまま)
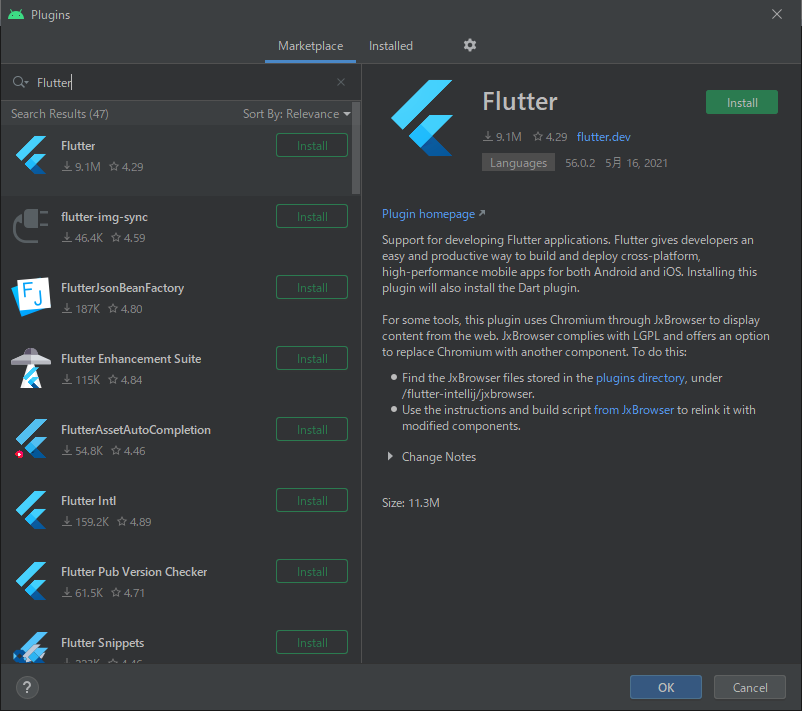


※Dartもインストール

RestartIDEをクリック
④再びFlutter環境の確認

not解消!
オチとしては素晴らしい。
どうやら軽く調べてみると不具合らしい。
次回のサンプル作成で動けばOKということで
ゴールを曖昧にしたまま環境構築編は保留。
※2021/05/22時点:保留
※次回:2021/05/29にて動作したことを確認済
ご覧頂きありがとうございました。